Last Updated on April 14, 2026
A QuickStart package is one of the fastest and most efficient ways to build a fully functional website using Joomla CMS. Instead of manually installing Joomla, configuring templates, and adding demo content, a QuickStart package provides a ready-made website that looks exactly like the demo version.
This guide explains the complete process of installing a Joomla QuickStart package in a professional and structured way. It is suitable for beginners as well as developers working with Joomla 4 and Joomla 5.
What is a Joomla QuickStart Package?
A QuickStart package is a pre-configured Joomla installation that includes everything needed to replicate a demo website. If you want to understand how templates work separately, you can also read How to Install a Joomla Template on Server.
- Pre-installed Joomla CMS
- Professional template design
- Demo content (articles, menus, modules)
- Pre-configured extensions and settings
Instead of building a website from scratch, QuickStart allows you to launch a complete website in just a few steps.
Step 1: Download QuickStart Package
The first step is to download the QuickStart package from your template provider. It is usually provided as a ZIP file such as:
template-name_quickstart.zip
Always ensure you download the correct version that matches your Joomla version.
Step 2: Extract the Package
Extract the ZIP file on your local system or hosting server. If you’re working locally, you can follow Install Joomla Template on Localhost Using XAMPP to set up your environment.
- Joomla installation files
- SQL database file
- Documentation files
These files are required for the installation process.
Step 3: Create a Database
Before running the installation, you must create a MySQL database. This can be done using cPanel or phpMyAdmin.
- Create a new database
- Create a database user
- Assign full privileges to the user
Make sure to note down database credentials carefully as they will be required during installation.
Step 4: Start Joomla Installation Wizard
Now open your website in a browser:
https://yourdomain.com OR http://localhost/project-folder
The Joomla installation wizard will automatically start. This wizard guides you through the setup process step by step.
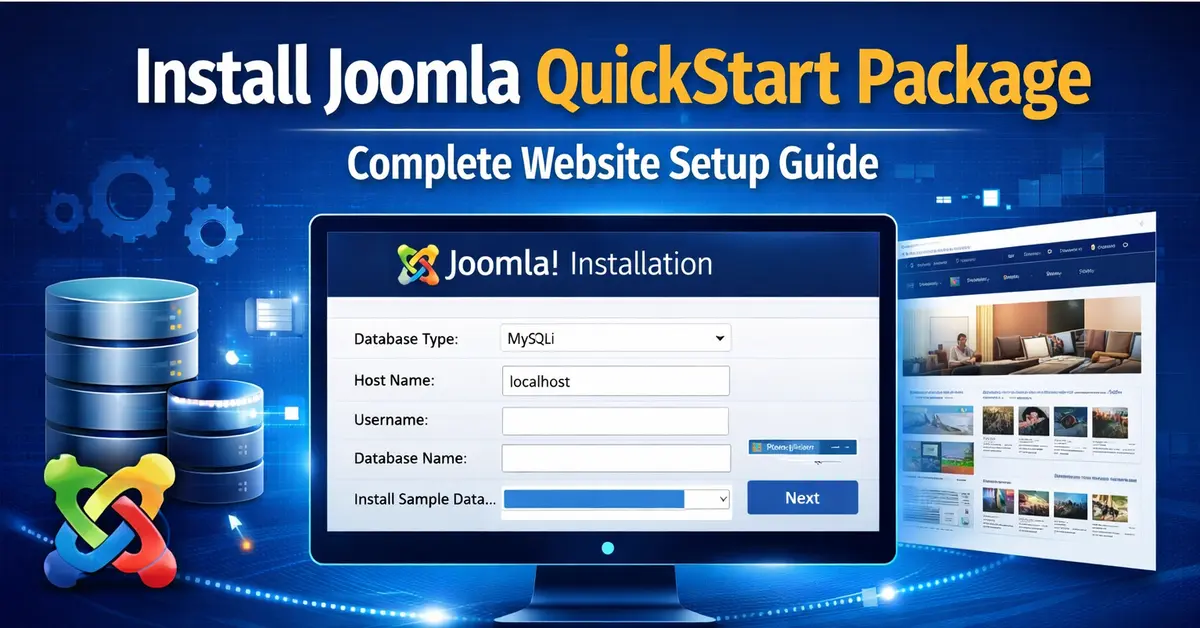
Step 5: Configure Database Settings
In this step, you must enter the database details:
- Database type: MySQLi
- Host: localhost
- Database name
- Username
- Password
Once entered correctly, click on “Install Joomla” to proceed.
Step 6: Installation Process
Joomla will now install the CMS, template, and demo content automatically. This may take a few minutes, depending on server performance.
During installation, Joomla will:
- Import sample data
- Configure template settings
- Install required extensions
Step 7: Finalizing Installation
After successful installation:
- Remove the installation folder (if prompted)
- Log in to the Joomla administrator panel
This ensures your website is secure and ready for use.
Step 8: Verify Your Website
Open your website homepage. You will see a fully designed website identical to the demo version provided by the template developer.
Common Issues and Solutions
This section highlights the most common problems users may encounter during the Joomla QuickStart installation process and provides practical solutions to resolve them. It helps both beginners and developers quickly identify errors, fix installation issues, and ensure a smooth and successful website setup.
ERROR 1: Database connection error
Ensure database credentials are correct and the database user has full privileges.
ERROR 2: Installation stuck or blank page
Enable error reporting in Joomla configuration to identify the issue.
ERROR 3: Missing demo content
Make sure the QuickStart installation completed without interruption.
Best Practices
- Always use a fresh hosting environment for QuickStart installation
- Match the QuickStart version with the Joomla version
- Take backups before installing on the live server
- Test installation on the local server first
Conclusion
Installing a Joomla QuickStart package is the fastest way to build a professional website without manual configuration. It saves time, ensures design accuracy, and provides a ready-to-use website structure.
If you want to customize your website further after installation, you can also explore how to add CSS in Joomla and improve performance using the Ultimate Joomla SEO Checklist.
By following this guide, you can confidently install any QuickStart package and launch a fully functional Joomla website in minutes.
Frequently Asked Questions
This section answers the most common questions users have while installing a Joomla QuickStart package. It helps beginners and developers quickly understand key concepts, resolve doubts, and troubleshoot basic issues during the installation process. By addressing these frequently asked questions, you can ensure a smoother setup and avoid common mistakes when working with Joomla QuickStart packages.
What is a Joomla QuickStart package?
A Joomla QuickStart package is a pre-built website that includes Joomla CMS, template, demo content, and extensions already configured for quick setup.
How is QuickStart different from a normal Joomla installation?
A normal Joomla installation starts with a blank site, while QuickStart installs a ready-made demo website with full content and design.
Do I need technical knowledge to install Joomla QuickStart?
Basic hosting and file management knowledge is enough to install a Joomla QuickStart package.
Can I use QuickStart on any hosting?
Yes, as long as your hosting supports Joomla requirements like PHP, MySQL/MariaDB, and proper file permissions.
Will installing QuickStart delete my existing website?
Yes, it can overwrite existing files or database if installed in the same directory. Always use a fresh installation.
Can I remove demo content after installation?
Yes, all demo content can be edited or removed after installation.
What should I do after installing QuickStart?
Update site title, logo, menus, global settings, and remove unused extensions to customize your website.
</div >
Stay updated with our latest news, special offers, and exclusive updates directly in your inbox.