Last Updated on June 8, 2026
In this tutorial, we will learn Joomla component development step by step using modern Joomla architecture.
A Joomla component is a self-contained extension that adds specific functionality to a Joomla website, such as a booking system, blog, or custom application.
Joomla component development allows developers to extend the CMS by building custom applications using the MVC (Model-View-Controller) structure. If you’re new to Joomla development, our Joomla Tutorials section provides the foundation needed before creating custom components.
What is a Joomla Component?
A Joomla component is a major extension in the Joomla Content Management System (CMS) that provides full functionality for a specific task.
Components are more powerful than modules and plugins because they can manage data, display pages, and handle complex logic.
Examples of Joomla components include:
- Blog systems
- E-commerce systems
- Event booking systems
- Custom business applications
Key Features of Joomla Components
1. Specific Functionality
Each component is built to handle a specific feature or application inside Joomla. Joomla components are primarily written in PHP, making the PHP Manual an excellent reference.
2. MVC Architecture
Before building a component, it’s important to understand the Joomla MVC Architecture and how it differs from module development and plugin development.
Joomla components follow the Model-View-Controller (MVC) pattern:
- Model: Handles data and database operations
- View: Handles layout and display
- Controller: Handles user requests and logic
3. XML Manifest File
Every component includes an XML file that defines installation details like name, version, and file structure.
4. Frontend and Backend Support
Components can work both in the frontend (site) and backend (administrator area).
5. Database Integration
Components can store and retrieve data using Joomla’s database abstraction layer. Understanding database design can help you build more efficient Joomla components.
Prerequisites
Before starting, make sure you have:
- Basic knowledge of PHP
- Understanding of Joomla CMS
- Local development environment (XAMPP, WAMP, or MAMP)
- Joomla 5 is installed on your system
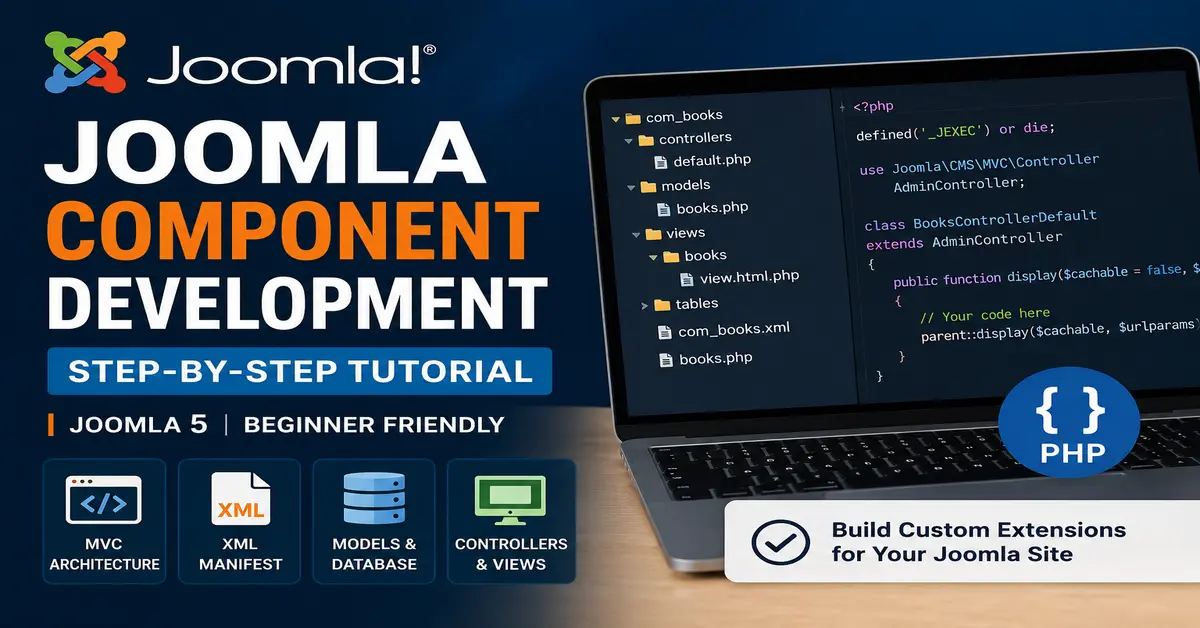
Step 1: Create Component Folder Structure
First, create a new folder inside the Joomla components directory:
/components/com_books
Inside this folder, create the following structure:
- controllers
- models
- views
- tables (optional)
This structure follows Joomla’s MVC architecture.
Step 2: Create the XML Manifest File
The XML file defines your component installation details.
Create a file named com_books.xml.
<?xml version="1.0" encoding="utf-8"?>
<extension type="component" method="upgrade">
    <name>com_books</name>
    <version>1.0.0</version>
    <description>Simple Joomla Books Component</description>
    <author>Your Name</author>
    <authorEmail>you@example.com</authorEmail>

    <files>
        <filename>books.php</filename>
        <folder>site</folder>
    </files>

    <administration>
        <menu>Books</menu>
        <files folder="admin">/admin/books.php</files>
    </administration>
</extension>
Step 3: Create Component Entry File
Create a file named books.php. This file acts as the entry point of your component.
defined('_JEXEC') or die;

use Joomla\CMS\Factory;
use Joomla\CMS\MVC\Controller\BaseController;

$app = Factory::getApplication();

// Get controller instance
$controller = BaseController::getInstance('Books');

// Execute task
$controller->execute($app->input->get('task'));

// Redirect if needed
$controller->redirect();
Step 4: Create Controller
Create a controller file inside:
controllers/default.php
defined('_JEXEC') or die;

use Joomla\CMS\MVC\Controller\AdminController;

class BooksControllerDefault extends AdminController
{
    public function display($cachable = false, $urlparams = [])
    {
        return parent::display($cachable, $urlparams);
    }
}
Step 5: Create View
Create a view file inside:
views/books/view.html.php
defined('_JEXEC') or die;

use Joomla\CMS\MVC\View\HtmlView;

class BooksViewBooks extends HtmlView
{
    public function display($tpl = null)
    {
        return parent::display($tpl);
    }
}
Step 6: Install the Component
- Compress the
com_booksfolder into a ZIP file - Go to the Joomla Administrator
- Navigate to Extensions → Manage → Install
- Upload and install the ZIP file
Step 7: Access the Component
- Go to the Joomla Administrator panel
- Click Components → Books
- You will see your component running successfully
What You Can Build Next
After learning the basics, you can extend this component with:
- Database CRUD operations
- Frontend listing pages
- Forms and user input handling
- Advanced MVC features
Conclusion
Joomla component development is one of the most powerful ways to extend Joomla CMS. For detailed API references, consult the official Joomla Developer Documentation. Once you understand MVC structure and XML configuration, you can build advanced applications like booking systems, CRMs, or custom business tools. Modern Joomla extensions should follow PSR coding standards for maintainability and compatibility.
Keep practicing and gradually move toward advanced Joomla development concepts. This tutorial follows modern Joomla standards. If you’re upgrading an older extension, see our Joomla 5 Migration Guide.
Frequently Asked Questions (FAQ)
What is a Joomla component?
A Joomla component is a major extension that adds specific functionality to a Joomla website, such as blogs, booking systems, or custom applications.
Is Joomla component development difficult for beginners?
It can be challenging at first, but once you understand MVC structure and file organization, it becomes much easier to develop components.
Which Joomla version is best for component development?
Joomla 5 is recommended for modern development because it uses updated MVC structure, better performance, and improved security features.
Do I need PHP knowledge for Joomla development?
Yes, basic PHP knowledge is required because Joomla components are built using PHP and MVC architecture.
Can I create a database-driven component?
Yes, Joomla components fully support database operations using Joomla’s database abstraction layer.
Stay updated with our latest news, special offers, and exclusive updates directly in your inbox.