Last Updated on May 1, 2026
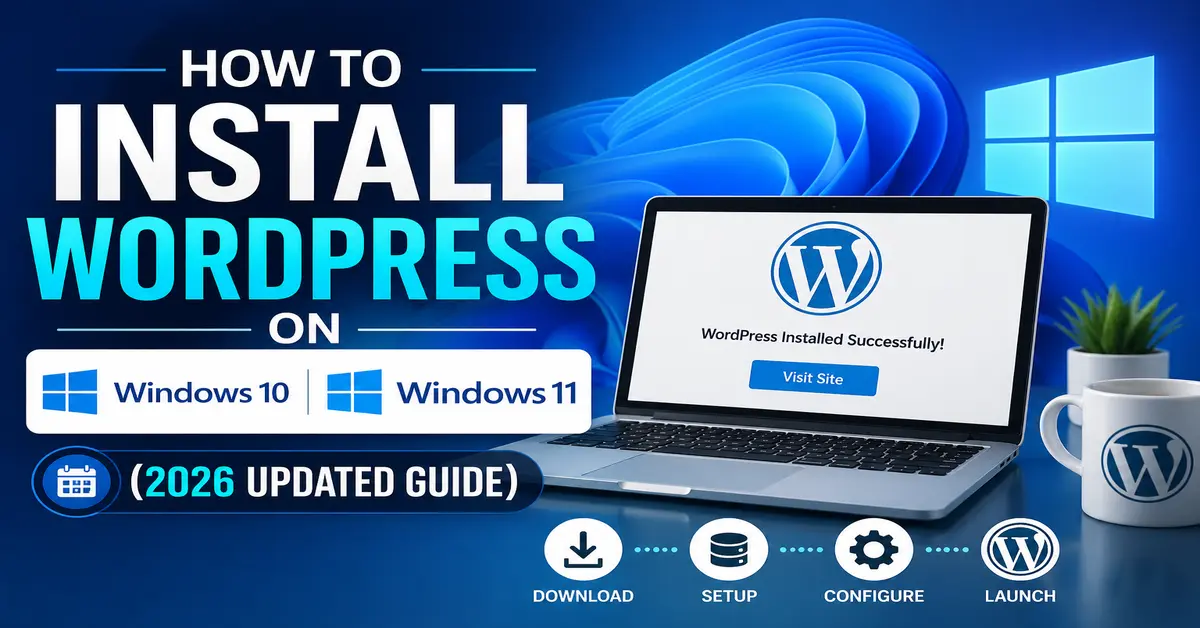
Welcome to this complete step-by-step guide on how to install WordPress on Windows 10 and Windows 11 using XAMPP.
If you want to learn WordPress development, test plugins, build websites locally, or practice before launching your website online, installing WordPress on localhost is the best solution. Using XAMPP, you can easily create a local server environment on your Windows PC with Apache, MySQL, and PHP.
In this tutorial, you’ll learn exactly how to install WordPress on localhost for both Windows 10 and Windows 11.
WordPress is one of the world’s most popular and beginner-friendly CMS platforms, widely used for blogs, business websites, portfolios, and eCommerce stores.
If you are new to WordPress, you may also want to learn: What is WordPress? and How does it work?
In this article, we’ll focus on how to install WordPress on localhost in Windows 10 and Windows 11.
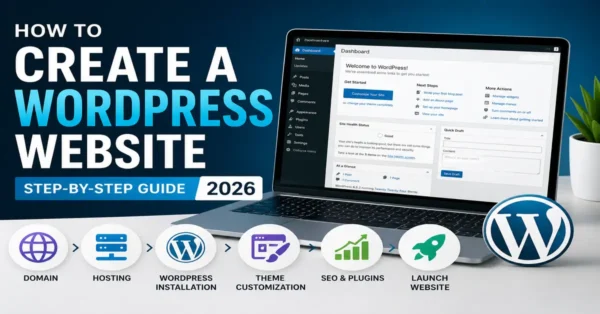
Install WordPress on Windows 10/11 Using XAMPP
To install WordPress locally on your Windows computer, XAMPP is one of the easiest and most reliable tools. Follow these steps carefully:
Step 1: Download and Install XAMPP
- Visit the official Apache Friends website: https://www.apachefriends.org/index.html
- Download the latest version of XAMPP for Windows 10 or Windows 11.
- Run the installer file and follow the setup instructions.
- The default installation path is usually: C:\xampp
Before installing WordPress, you need a local server environment. If you need a full setup tutorial, read: How to Install XAMPP on Windows
Step 2: Start XAMPP Server
- Open the XAMPP Control Panel from your desktop or installation folder.
- Start both Apache and MySQL services.

Once both services are running, open your browser and type:
http://localhost/
or
http://127.0.0.1/
Both URLs will open your XAMPP dashboard.
Step 3: Create a MySQL Database
Open: http://localhost/phpmyadmin
Click on the Databases tab.
Enter your preferred database name (usually your website name) and click Create.

Step 4: Download WordPress
Download the latest WordPress version from the official website: https://wordpress.org/download

Step 5: Place WordPress Files in Root Directory
After downloading:
- Extract the WordPress ZIP file.
- Copy the extracted WordPress folder into:
For XAMPP: C:\xampp\htdocs\
For WAMP: C:\wamp\www\
You can rename the WordPress folder to your website name, such as mywordpress.
Important: Avoid spaces or special characters in the folder name.
Step 6: Verify WordPress File Structure
Make sure all WordPress files and folders are available properly inside your installation folder.

Let’s See: What is WordPress and how does it work?
Step 7: Open WordPress Installation Setup
In your browser, enter: http://localhost/mywordpress
Select your website language and click Continue.

Now click Let’s Go.

Enter your database details:
Database Name: Your created database name
Username: root
Password: Leave blank
Database Host: localhost
Table Prefix: wp_ (or custom)

Click Submit.
Let’s See: How to install XAMPP on Windows?
Step 8: Run the WordPress Installation

Click Run the Installation.
Step 9: Configure Your Website
Enter the following details:
Website Name: Your site title
Username: Admin login username
Password: Strong password
Confirm Password: Check the confirmation box
Email: Your admin email
Search Engine Visibility: Check this option if your site is under development

Click Install WordPress.
Step 10: Login to WordPress Admin Dashboard
After successful installation, you’ll see the success screen below:

Now log in using your admin username and password.

Admin URL: http://localhost/yourwordpress/wp-admin
Frontend URL: http://localhost/yourwordpress

From your WordPress dashboard, you can now create:
- Posts
- Pages
- Menus
- Plugins
- Themes
- Categories
Final Thoughts
Congratulations! You have successfully installed WordPress on Windows 10 or Windows 11 using XAMPP.
This local WordPress setup allows you to:
- Learn WordPress safely
- Build and test websites offline
- Develop custom themes and plugins
- Practice before launching live
After installation, you may need a professional WordPress theme for your website: Themesrain WordPress Themes
Let’s See: How to Create a WordPress Plugin
Frequently Asked Questions (FAQs)
Can I install WordPress on Windows 10 and Windows 11 for free?
Is XAMPP safe for WordPress installation?
What are the system requirements for installing WordPress on localhost?
What is the default database username and password in XAMPP?
Can I install plugins and themes on localhost WordPress?
How do I access WordPress admin after installation?
Stay updated with our latest news, special offers, and exclusive updates directly in your inbox.