Last Updated on June 13, 2026
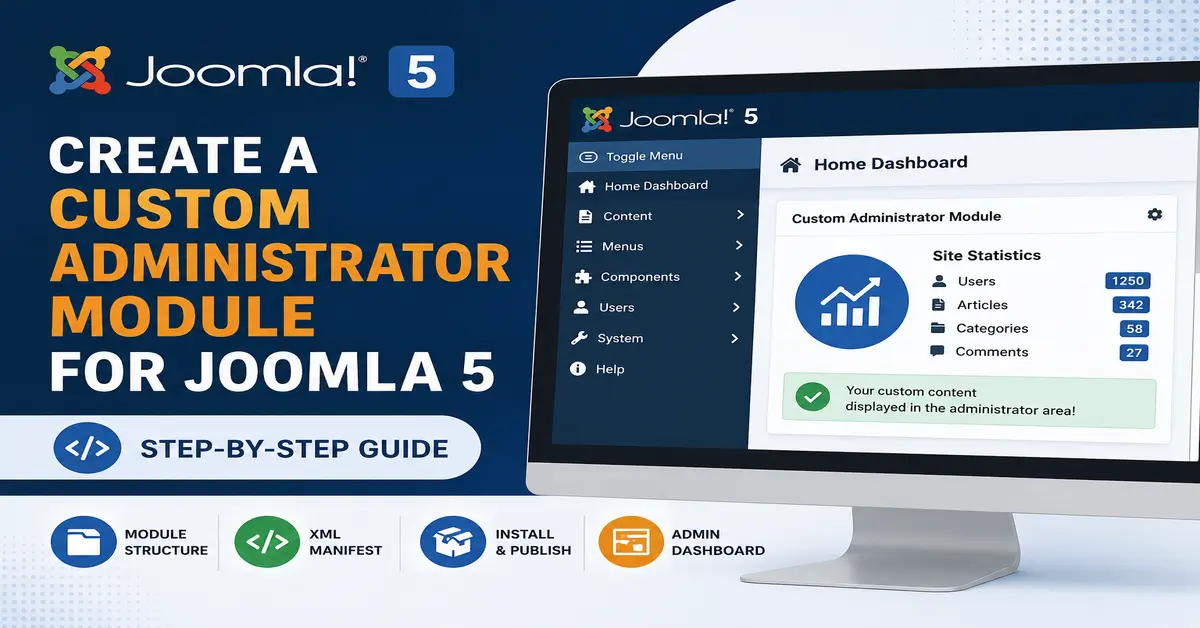
Joomla 5 makes it easier than ever to extend the administrator area with custom modules. Whether you want to display statistics, quick links, notifications, custom dashboards, or business-specific information, a custom administrator module can help improve productivity and streamline backend workflows.
In this step-by-step guide, you will learn how to Create a Custom Administrator Module for Joomla 5, understand the module structure, build the required files, and install the module successfully in your Joomla administrator panel. If you are new to Joomla development, you may also want to read our Joomla Tutorials section for more beginner-friendly guides.
By the end of this tutorial, you will have a fully functional administrator module that displays custom content inside the Joomla 5 backend. According to the official Joomla Documentation, administrator modules are an effective way to extend backend functionality.
Why Create a Custom Administrator Module for Joomla 5?
Administrator modules are displayed inside the Joomla backend and provide useful information to site administrators. Instead of navigating through multiple menus, you can place important data directly on the administrator dashboard. Before building administrator modules, it is helpful to understand the basics of Joomla extension development. Check out our guide on Joomla 5 Custom Component Development.
Common use cases include:
- Displaying website statistics
- Showing quick access links
- Displaying custom reports
- Integrating third-party APIs
- Showing business notifications
- Displaying project management information
- Creating personalized administrator dashboards
Understanding Joomla 5 Administrator Module Structure
Before creating the module, let’s understand the basic file structure. Administrator modules follow the same extension architecture used throughout Joomla. You may also like our tutorial on Creating Custom Modules in Joomla 5.
mod_customadmin/
│
├── mod_customadmin.php
├── mod_customadmin.xml
├── helper.php
├── tmpl/
│   └── default.php
└── language/
    └── en-GB/
        ├── en-GB.mod_customadmin.ini
        └── en-GB.mod_customadmin.sys.ini
Each file has a specific purpose:
- mod_customadmin.php – Main entry point of the module.
- mod_customadmin.xml – Installation manifest file.
- helper.php – Contains helper functions.
- default.php – Module output layout.
- Language files – Store translatable text strings.
Step 1: Create the Module Entry File
Create a file named mod_customadmin.php.
<?php
defined('_JEXEC') or die;
require_once __DIR__ . '/helper.php';
$data = ModCustomAdminHelper::getData();
require JModuleHelper::getLayoutPath('mod_customadmin');
?>
This content is displayed inside the Joomla Administrator.
This layout file controls the HTML output displayed in the administrator panel.
Create the XML Manifest File
The XML manifest file tells Joomla how to install the module.
Step 4: Create mod_customadmin.xml
<?xml version="1.0" encoding="utf-8"?>
<extension type="module" client="administrator" method="upgrade">
  <name>MOD_CUSTOMADMIN</name>
  <author>JoomTech Solutions</author>
  <version>1.0.0</version>
<description>Custom Administrator Module for Joomla 5</description>
<files>
  <filename module="mod_customadmin">mod_customadmin.php</filename>
  <filename>helper.php</filename>
  <folder>tmpl</folder>
  <folder>language</folder>
</files>
<languages> <language tag="en-GB">language/en-GB/en-GB.mod_customadmin.ini</language>
 <language tag="en-GB">language/en-GB/en-GB.mod_customadmin.sys.ini</language>
</languages>
</extension>
Create Language Files
Step 5: Create Language Constants
Create the file:language/en-GB/en-GB.mod_customadmin.ini
MOD_CUSTOMADMIN="Custom Administrator Module"
Create another file:
language/en-GB/en-GB.mod_customadmin.sys.ini
MOD_CUSTOMADMIN="Custom Administrator Module"
MOD_CUSTOMADMIN_XML_DESCRIPTION="Custom Joomla 5 Administrator Module"
Using language files makes your extension multilingual and easier to maintain.
Package the Administrator Module
After creating all files, compress the module folder into a ZIP file.
Example: mod_customadmin.zip
The ZIP should contain:
mod_customadmin/
│
├── mod_customadmin.php
├── mod_customadmin.xml
├── helper.php
├── tmpl/
└── language/
Install the Module in Joomla 5
Follow these steps:
- Login to Joomla Administrator.
- Go to System → Extensions.
- Click Install Extensions.
- Upload the ZIP package.
- Wait for the installation success message.
Once installed, Joomla automatically registers the administrator module. If you are unfamiliar with extension installation, read our complete guide on How to Install a Joomla 5 Template on Localhost.
Publish the Administrator Module
After installation:
- Go to Content → Administrator Modules.
- Find your module.
- Open the module settings.
- Select a backend module position.
- Set Status to Published.
- Save and Close.
You should now see your custom module on the Joomla administrator dashboard.
Best Practices for Joomla 5 Administrator Modules
- Keep business logic inside helper classes.
- Use Joomla language constants.
- Follow Joomla coding standards.
- Escape output when displaying user data.
- Use Bootstrap 5 classes for consistent styling.
- Separate logic and presentation.
- Keep XML manifest files organized and documented.
Developers should also follow the coding recommendations provided by the Joomla Coding Standards Guide.
Conclusion
Learning how to Create a Custom Administrator Module for Joomla 5 is an excellent way to extend Joomla’s backend functionality. Administrator modules can display custom information, statistics, quick actions, and integrations that improve the user experience for site managers. Continue learning Joomla development with our collection of Joomla Tutorials covering modules, plugins, templates, and custom component development.
By following the steps in this guide, you can build, package, install, and publish your own Joomla 5 administrator module. Once you understand the basic structure, you can enhance your module further by adding configuration options, database queries, charts, API integrations, and advanced dashboard widgets.
Frequently Asked Questions (FAQ)
What is an Administrator Module in Joomla 5?
An Administrator Module is a backend module that displays information, tools, or widgets inside the Joomla administration area.
Where are Joomla 5 Administrator Modules displayed?
They are displayed in administrator module positions available within the Joomla backend dashboard and administration pages.
Can I use database queries inside an Administrator Module?
Yes. You can use Joomla’s database API inside the helper class to retrieve and display custom information.
Do Administrator Modules support Bootstrap 5?
Yes. Joomla 5 includes Bootstrap 5 support, allowing you to create responsive and modern administrator interfaces.
Can I add module parameters to an Administrator Module?
Yes. You can define configurable parameters in the XML manifest file and access them using Joomla’s module parameter system.
Stay updated with our latest news, special offers, and exclusive updates directly in your inbox.